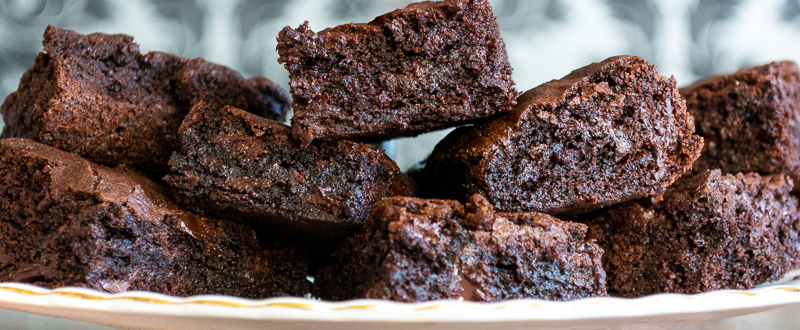
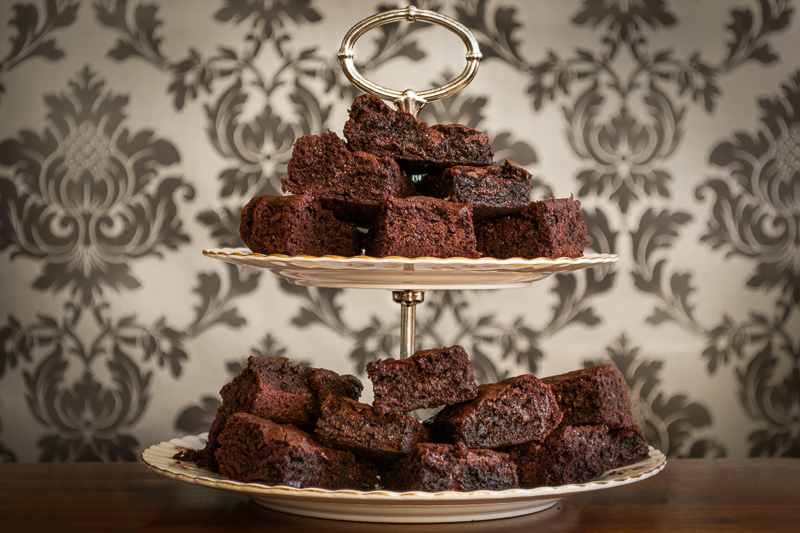
Gooey Brownies are a great addition to any afternoon tea menu. Make them bite size for a more refined affair, or serve in slices for a more relaxed tea. Either way, you can’t go wrong with a chewy, chocolatey brownie.
The first “true” Brownie was made in 1907 in Bangor, Maine. This was a close match to the Brownie we love today, but similar products had been made prior to that date. It is believed the original version was created ten years earlier in Chicago’s, Palmer House Hotel . This early version contained walnuts and apricot jam, and was made at the request of the hotel owners wife who wanted a cake-like desert that could be taken in a lunch box. They are still made to the original recipe in the hotel today.
Perfecting the Recipe
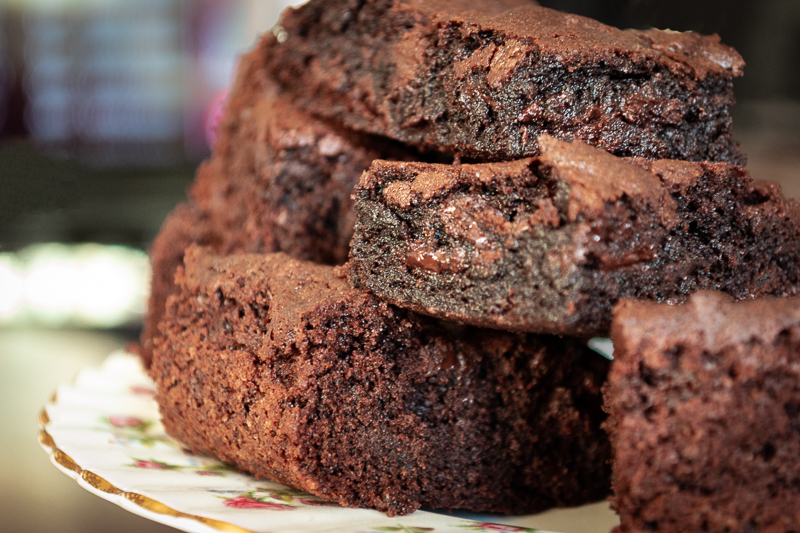
I have been working on perfecting my Chocolate Brownie recipe for a while now. It is now darker, chewier and gooier than ever before. I have taste tested it to death, as have my friends and family. And, thanks to their feedback, I have tweaked it many times. Finally, I think I have it just right.
I started by experimenting with the chocolate. My recipe originally used a chocolate that contained 60% solids, but I like it dark, so I switched it up to 70%. The balance of bitter and sweet was just perfect for me. I also tried a few different flavoured chocolates, such as mint and orange, but that was less successful, simple and dark is definitely the way forward.
I experimented with variations of vanilla in this recipe too and settled for paste. It’s not too runny so doesn’t spoil the texture of the brownies. It perfectly compliments the bitter chocolate without going to the expense of buying vanilla pods. Vanilla extract would do a nice job too, but I love the paste. You could use pods, of course, and they would taste awesome. But, I’m not sure you would really get the benefit of such a delicate flavour – save it for the ice cream!
Baking Brownies
I experimented with a tin liner, but it was not necessary, and actually hindered the cooking process. Instead, I prefer a foil dish with a couple of squirts of butter. Butter in a spray has really made a difference to all my baking. It’s so much easier than using kitchen roll to smear butter all around the tin – just a coupe of squirts and your done. You can get it in most supermarkets and I highly recommend it – give it a try.
Cool the brownies in the tin until they have firmed up. If you try to get them out any sooner, they will fall apart which will make them hard to cut into slices. I tried getting them out sooner and ended up with a gooey mess. Yummy, but not terribly refined!
The cooking time took some tweaking. My original recipe had a slightly cakey texture. I like a gooey, fudgy brownie so I did a little research and experimented with a shorter cooking time. If you overcook them they will still be yummy but they won’t be true brownies, in my opinion.
Are they ready yet?
I normally use a skewer to check my cakes for readiness. This won’t work for Brownies as they are not fully set when they are cooked. Instead, you will just have to keep an eye on them. You’ll know they are ready though as the edges will start to set and pull away from the sides of the tin.
You can serve these hot, cold and frozen. Add nuts, fruit or drizzle with chocolate sauce. You can even replace the cocoa with flour and switch to white chocolate chips instead of dark and make a Blondie. I love them hot and with a big dollop of ice cream. But, most often, I just cut them up and eat them slightly warm.
The verdict
The guys in my Dungeons and Dragons group tested the finished product and they were very complimentary indeed! I also asked a couple of volunteers to test bake the recipe and they loved it too – especially good with red wine, apparently!
Photography
I have also been working hard on my photography skills, under the supervision of Chris Mitchell. He has taught me so much about lighting, settings, techniques and editing. He has really given me the confidence to experiment and I had loads of fun setting up my brownies for the various different shots.
I’m really pleased with my efforts, especially as these were my first unsupervised shots. Normally, I would have snapped a few shots on my phone, but using a proper camera really does make a difference to the finished product. What do you think?
Top Tip
It is far easier to clean away stray crumbs with a cloth before you take the picture, than to use Photoshop to do it afterwards!
All in all, I took about thirty pictures in this shoot. Most of them ended up in the virtual bin, of course. But each one taught me something about what looks good and what doesn’t. I focused on cropping, lighting and colour balance in the final editing process. And I taught myself a lot about the value of a good crop, and how much of a difference it can make to the finished photo.
I’m really pleased with these finished shots. I have a great project lined up for next week and I can’t wait to get the camera out again.
This awesome recipe will certainly make it into my recipe book, but you can get a Free copy if you sign up for my Newsletter. As well as this recipe, you’ll also get regular tips, tricks, and updates, and if it’s not for you, you can cancel at any time.
Founder/Caker at For Cakes Sake: a catering company that specialises in Afternoon Tea and Cakes for all types of event.
Writer of novels, blogs and non-fiction works