My test kitchen has been completely taken over by For Cakes Sake this week. Just right too as things are starting to hot up over there. Not only has an offer gone in on a premises, I have also registered as a limited company. This means that things are getting real and there is a massive list of recipes to test and cost out. It’s pretty bonkers the amount of work that needs to be done.
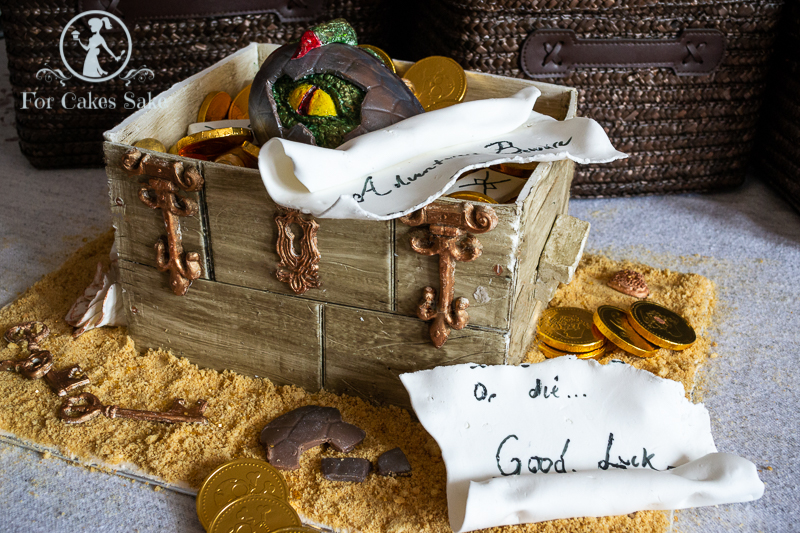
Baking cakes is always a treat. But when the pressure is on to test out a ton of stuff, it makes sense to combine a few skills. So, I designed this Dungeons and Dragons Crate Cake. I had missed a few sessions of DnD over the past few weeks, and I kept promising them cake. Although, I knew they would not be expecting this!
Secret Recipe Strawberry Milkshake Cake
I particularly wanted to test out my new recipe for strawberry milkshake cake, but I also wanted to work with chocolate. Choccywoccydoodah make it looks so easy and fun. So I decided to break away from using the standard fondant and try something a little different. I am so glad I did.
First of all, the cake turned out beautifully. It’s a variation on my lemon velvet cake and will form the basis for my Strawberry Milkshake Humpday Cake. The sponge itself has a hint of strawberry, but the buttercream is the true star. This has a very strong strawberry milkshake flavour. I lighten my buttercream with condensed milk too so it was especially creamy and yummy.
I made four thin cake layers, as opposed to the standard two. With the buttercream and the strawberry jam layered in between it made a ridiculously moreish cake. I ate a stack of off cuts in between assembling the cake. Plus, I had two extra slices on the night. I just couldn’t stop eating it. The guys at my Dungeons and Dragons group were just the same. I love that. It is all very well making a great looking cake, but the taste has to be just as good, if not even better!
Making Modelling Chocolate
It didn’t look too difficult, so I made my own white modelling chocolate. Basically, you just melt the chocolate and add some corn syrup. You do have to make sure the corn syrup is the exact right temperature though. And you can’t over mix it otherwise it can split. But I had done my research, and knew what I was aiming for. That’s the easy bit!
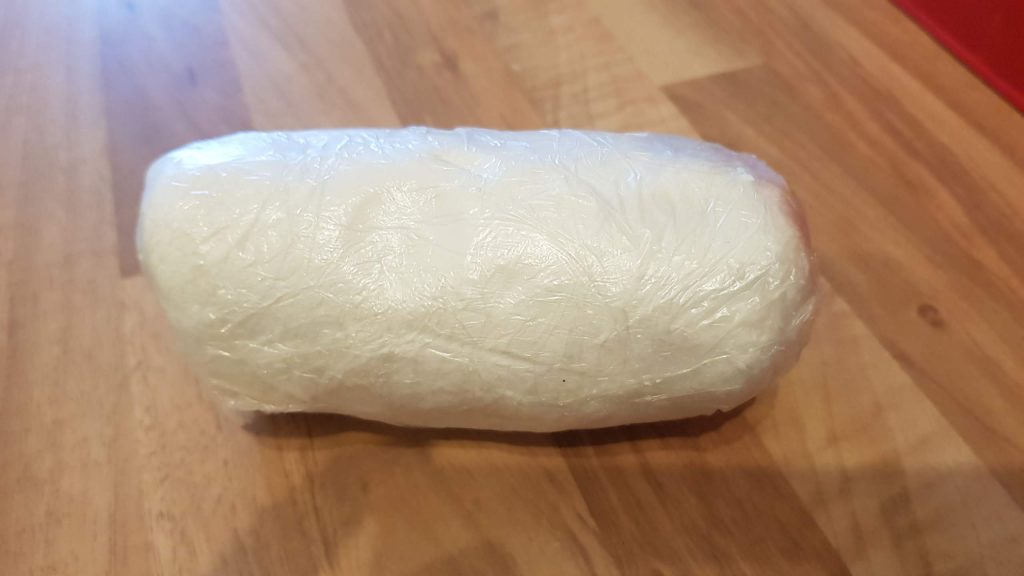
Then you have to kneed the crumbly, hard stuff into a lovely smooth, stretchy clay that you can mould. It’s insanely hard work at the start. I made two batches. The first one I made by hand and it took forever to kneed it into a dough like this. The second batch I kneaded in my Kenwood chef until it was just starting to loosen up, and then I finished it by hand. This was a much better option. I am so glad it worked out in the mixer otherwise I might have had to consider my future relationship with modelling chocolate!
White Chocolate Roses
I thought I would see what else I could do with it my modelling chocolate. Ages ago I had promised my friend that I would make her an edible flower. She would be there when I presented the cake, so I made these lovely roses. Modelling chocolate is not traditionally a fine medium to work with. So I mixed in a little flower paste, and sure enough I was able to roll it much thinner. It also colours really well as you can see from the raspberry ripple rose. I painted the gold one afterwards. The rose didn’t really match the theme of the cake, but it didn’t matter, she was thrilled anyway. I also made the keys and the scroll with this flower paste hybrid. It worked really well, although my handwriting needs a little work, as you can see.
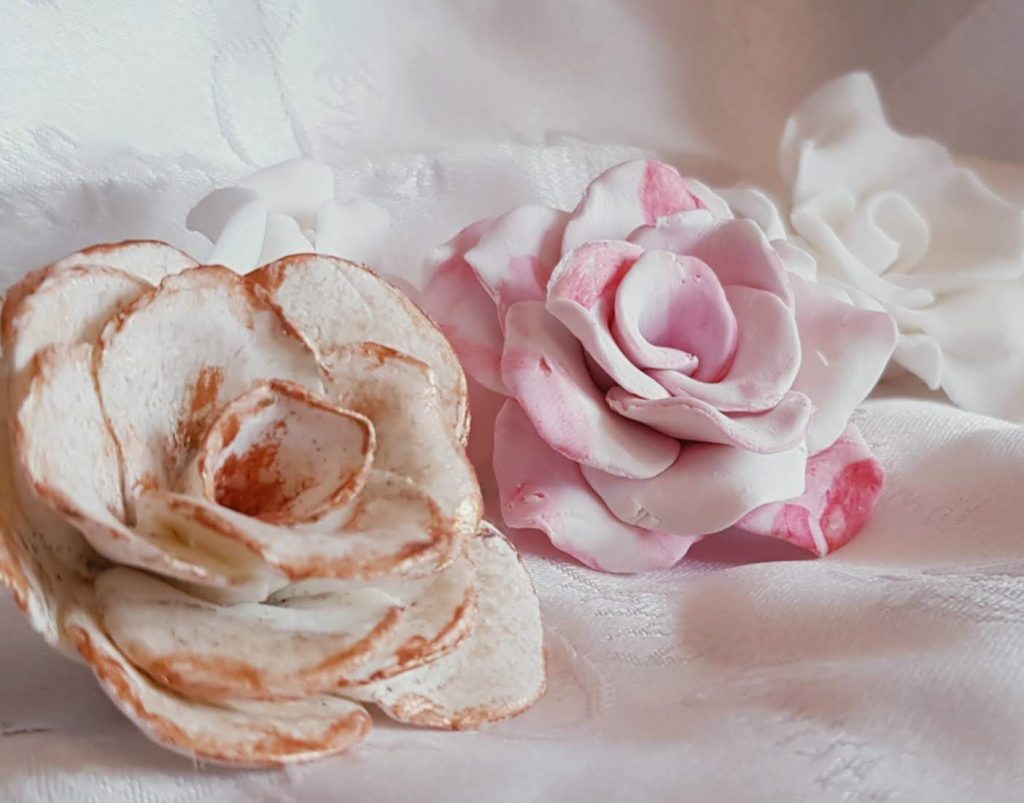
The roses were really simply to make, and they didn’t take long so they will definitely be used as a decoration on large cakes. I reckon they will also look pretty as a garnish to an afternoon tea too.
Enough is Enough
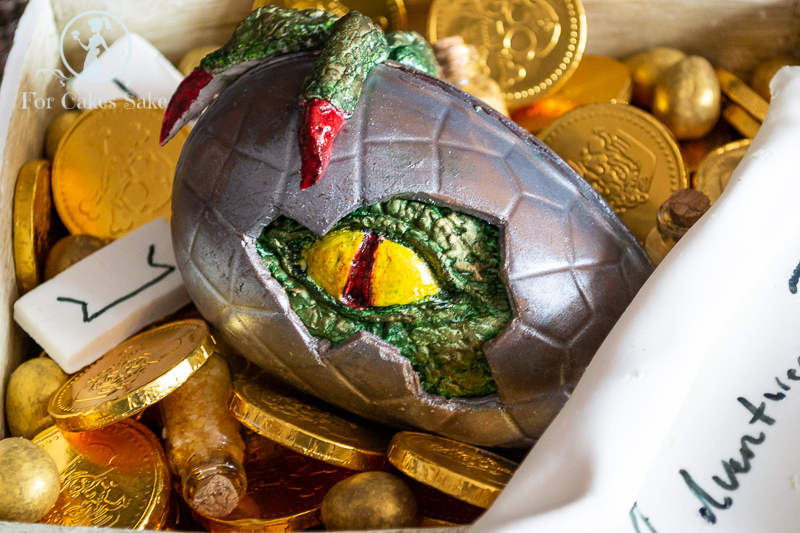
Knowing when to stop is a big challenge when you are decorating cakes! It is very easy to get carried away and keep adding more and more. This egg was a perfect example of that. There was plenty of jeopardy associated with the dragon egg. First I had to separate the two halves without breaking it. Then I had to cut out the holes for the eye and the claws – again without breaking it.
Once that was done, the hard part was over and I was happy to spray it silver. It was easy enough to make the eye and claws out of the modelling chocolate. I simply fixed those into the shell. Then it just needed to be glued back together again. Of course, as soon as it was back in one piece, I decided that what it really needed was a tail! I had to have a lot of words with myself about that. It would have been foolish to try and re-open the egg to add a tail. Next time I will do that, but I’m glad I didn’t push my luck this time. I’m sure I would have tempted fate and the whole thing would have just fallen apart! There would have definitely been cursing, and maybe a few tears too!
Where Can You Get One?
So that’s my Dungeons and Dragons cake. You won’t be able to buy a cake like this in the For Cakes Sake shop. It was just for fun. But you will be able to get a strawberry milkshake cake. And I will definitely be using the modelling chocolate to make all kinds of decorations and garnishes for my other bakes. A very worth while exercise.
If you are interested in my Afternoon Tea catering business, For Cakes Sake, please head over to my website or Facebook page where you can keep up to date with all the latest developments. I will be giving away tickets to my launch event over the coming weeks so give my Facebook page a Like if that is of interest.
Hopefully, I will be able to bake something for Cakes, Tea and Me next week – I’m feeling like doing a Macron Tutorial, what do you think?
Founder/Caker at For Cakes Sake: a catering company that specialises in Afternoon Tea and Cakes for all types of event.
Writer of novels, blogs and non-fiction works