I’m so excited. I have wanted to have a go at dehydrating for a long time . People that do it seem to rave about it, so I was particularly curious. I was actually more interested in making meaty treats for my dog initially, and not drying fruit. But, I couldn’t justify buying one just for that (sorry Wilma). Now, though, I have a good(ish) reason to buy one. It’s not for my dog though – it’s actually for a recipe idea I’m working on.
If you have ever looked for dried blueberries in the shops you’ll know how hard it is to find them. You can get them from Amazon, of course, but you have to buy a big bag and they are fairly expensive. So, I thought I would “save” money, and instead I spent £41.99 on a dehydrator and a carrier bag full of fruit! Much better than spending a few pounds on a single bag! I’m sure you’ll agree…
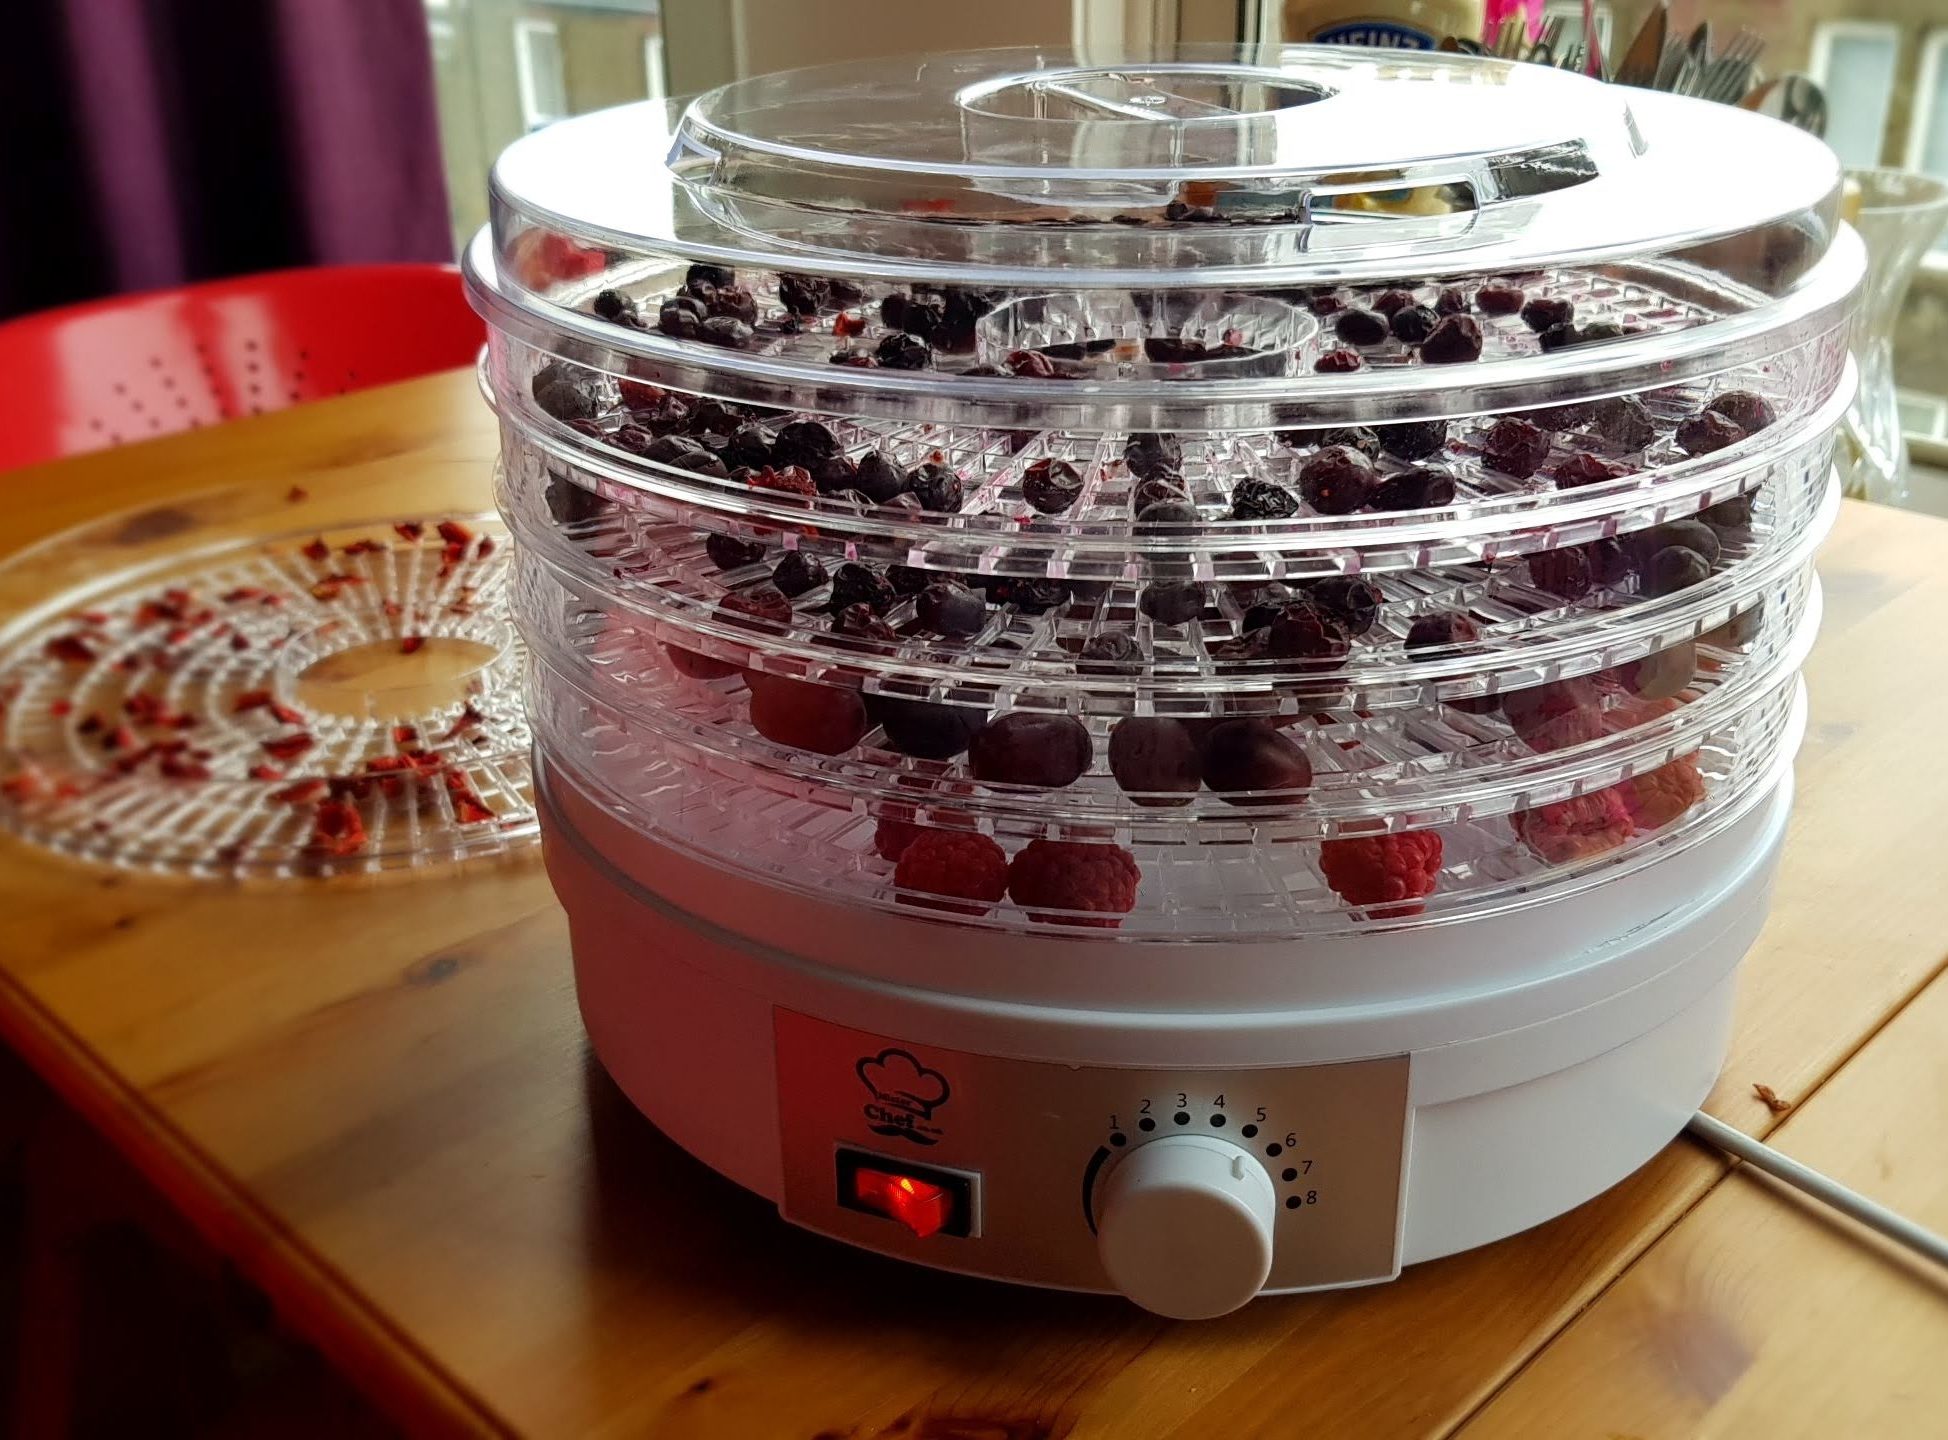
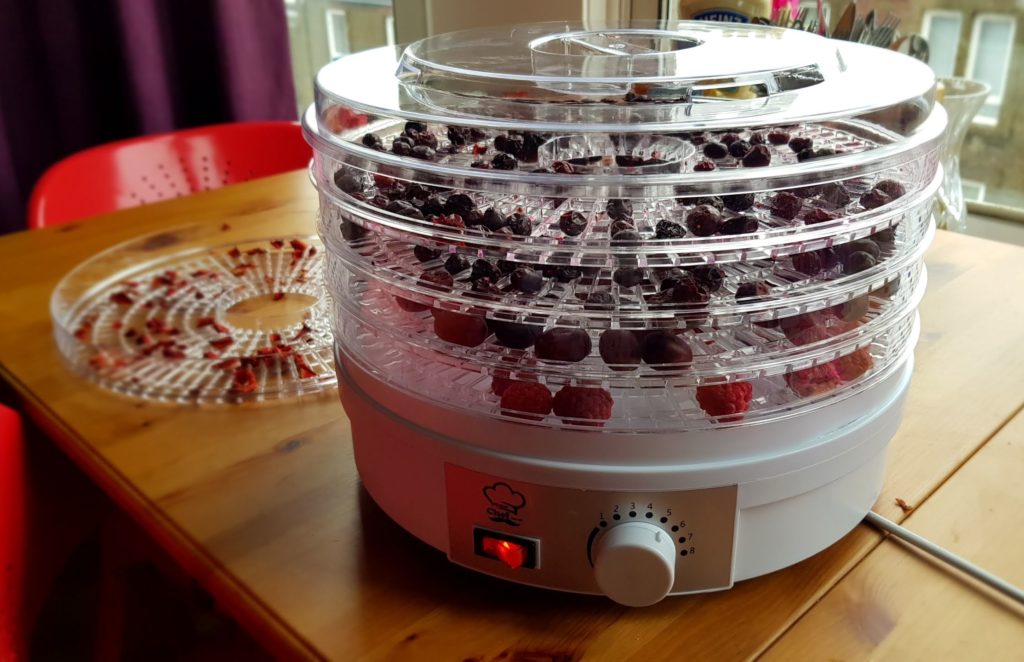
The Misterchef Food Dehydrator
So, this is what I got. A Misterchef Food Dehydrator. It had great reviews on Amazon, so I thought I would be in good hands with it. Of course, you can’t always trust the reviews and in the end I was actually quite disappointed with it… mostly!
Let me explain. The end result is really great, I’m very pleased with that. The fruit tastes wonderful, much better than the stuff you buy in the supermarket. The strawberries, in particular, are divine. You can also control how dry you want the fruit to be, and the size. You should also know that the house smells amazing while you are using your dehydrator, which is a huge bonus!
Crappy Instructions
It is let down by a particularly confusing instruction book. Firstly, it has been badly translated from a foreign language, and in places it barely makes any sense at all. This is a pet hate of mine, there isn’t much that annoys me more than a poorly translated instruction manual. A recipe book is included too, but some of the recipes list cooking temperatures in Fahrenheit, whilst some are in Celsius. The problem with this, is that the machine only has a dial numbered 1-8 to control the temperature. Each number represents a particular temperature but you have to refer to the book to find out what that is. Unfortunately, the conversion chart only lists temperatures in Celsius. This means that you have to convert the temperature from Fahrenheit into Celsius first. Then you can use the table to find out what that means on the numbered dial! Confused yet?? Me too. But I figured it, out and eventually got some fruit on to dry.
Freeze your Fruit
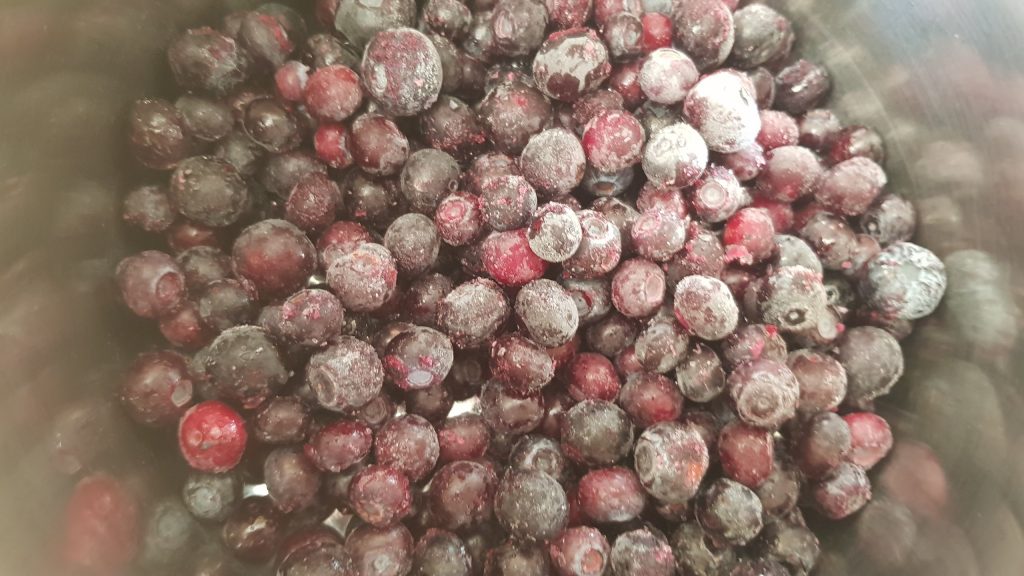
Once dried, the fruit doesn’t last very long. This is a known problem with home drying, I have since found out. A normal bag of supermarket dried fruit can last for months once opened, but my blueberries barely made it two weeks before they went mouldy. I expected them to last much longer than this. I guess they weren’t quite as dry as they could have been, and it was the excess moisture that caused the mould. So, I had to throw them all out. My currents and strawberries fared better, but I have frozen them now.
It took forever
The biggest problem I had was the fact that the fruit seemed to take forever to dry out. Grapes took around four days to fully dry – much longer than the 10-18 hours I was expecting. And the blueberries took between 24-36 hours, which was considerably more than the 10-18 hours the instructions suggested. This is a huge downside for me as I had to keep checking on them, some were ready much sooner and every time I went to check on them I would take out a few that were ready. But overall, it took forever.
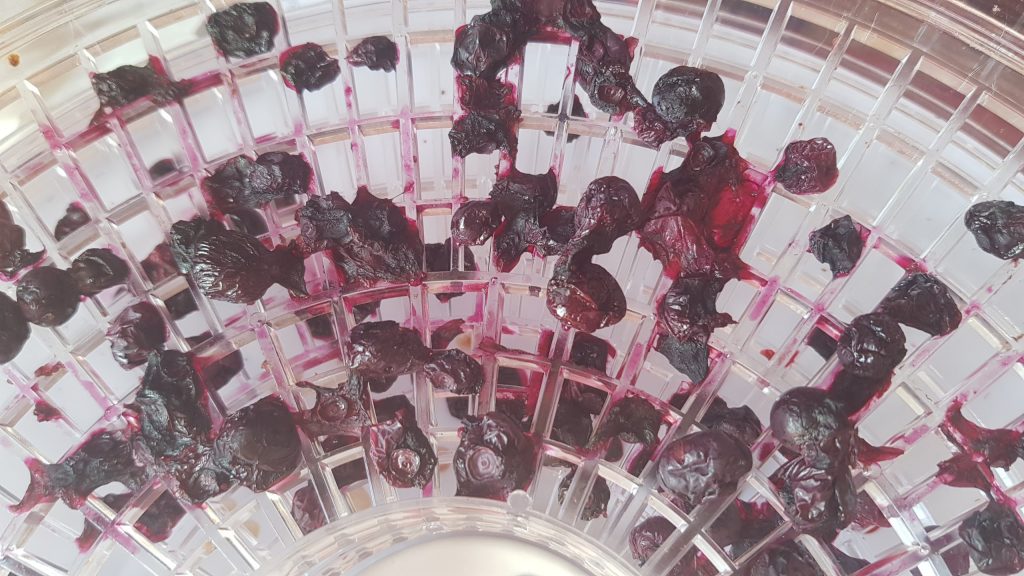
So, having spent actual days waiting for my fruit to dry out, I decided to do some more research. There appears to be two main methods of preparation. The first one I had already tried and that simply involves spreading the fruit evenly across the trays. This took days. The second one involves boiling the blueberries until the skin splits and then layering it out across the trays. This method drastically sped up the process (12 hours), but it made a terrible mess. The fruit stuck to the trays quite badly, as you can from the picture. It was really hard to get it off, plus I think I lost some flavour in the water I boiled the fruit in. I can’t be sure as I don’t have any of the original fruit to compare it to. It was much faster, but the result was really disappointing. I think I’ll just be patient next time.
Needs bigger holes!
Another issue is that the holes in the trays are far too small for blueberries, and they easily fell through onto the tray below. This happened to my strawberry pieces too, and caused me a bit of a headache as I had to separate the fruits after. The answer to this, of course, is to dedicate the machine to one type of fruit. I will do that in the future. But, it would have been useful if the instructions had warned of this. The picture clearly shows layers of different fruit being dried simultaneously so I would never have thought, but lesson learnt.
All in all, I would definitely recommend having a go at dehydrating. But, if I was you I would spend more and get a better model. I plan to do more research and upgrade mine asap.
I will have a go at the dog treats through (Wilma sighs with relief) – I’ll update you with my results when I do…
Have you any tips for me?
Founder/Caker at For Cakes Sake: a catering company that specialises in Afternoon Tea and Cakes for all types of event.
Writer of novels, blogs and non-fiction works